Custom Login
# Custom Login Page
# Background
With the digital transformation of enterprises and increasing demand for personalization, many companies want to implement custom login pages in their internal systems. A custom login page allows enterprises to independently design and customize the appearance and user interface of the login page according to their brand image, style, and design requirements.
Through the custom login page feature, enterprises can select appropriate colors, fonts, background images, and other elements to align the login page with their brand identity. Additionally, companies can add their logos, slogans, and other information to enhance user trust and recognition.
The custom login page feature not only enhances brand image but also improves user experience. By designing a simple and intuitive user interface and interaction flow, users can complete login operations more quickly, thereby improving work efficiency and user satisfaction.
This article will guide you through developing a custom login page.
# Writing the Template
<template>
  <div class="wrapper">
    <div class="login-wrapper">
      <fx-login v-bind="options"></fx-login>
    </div>
  </div>
</template>
# Writing the Script
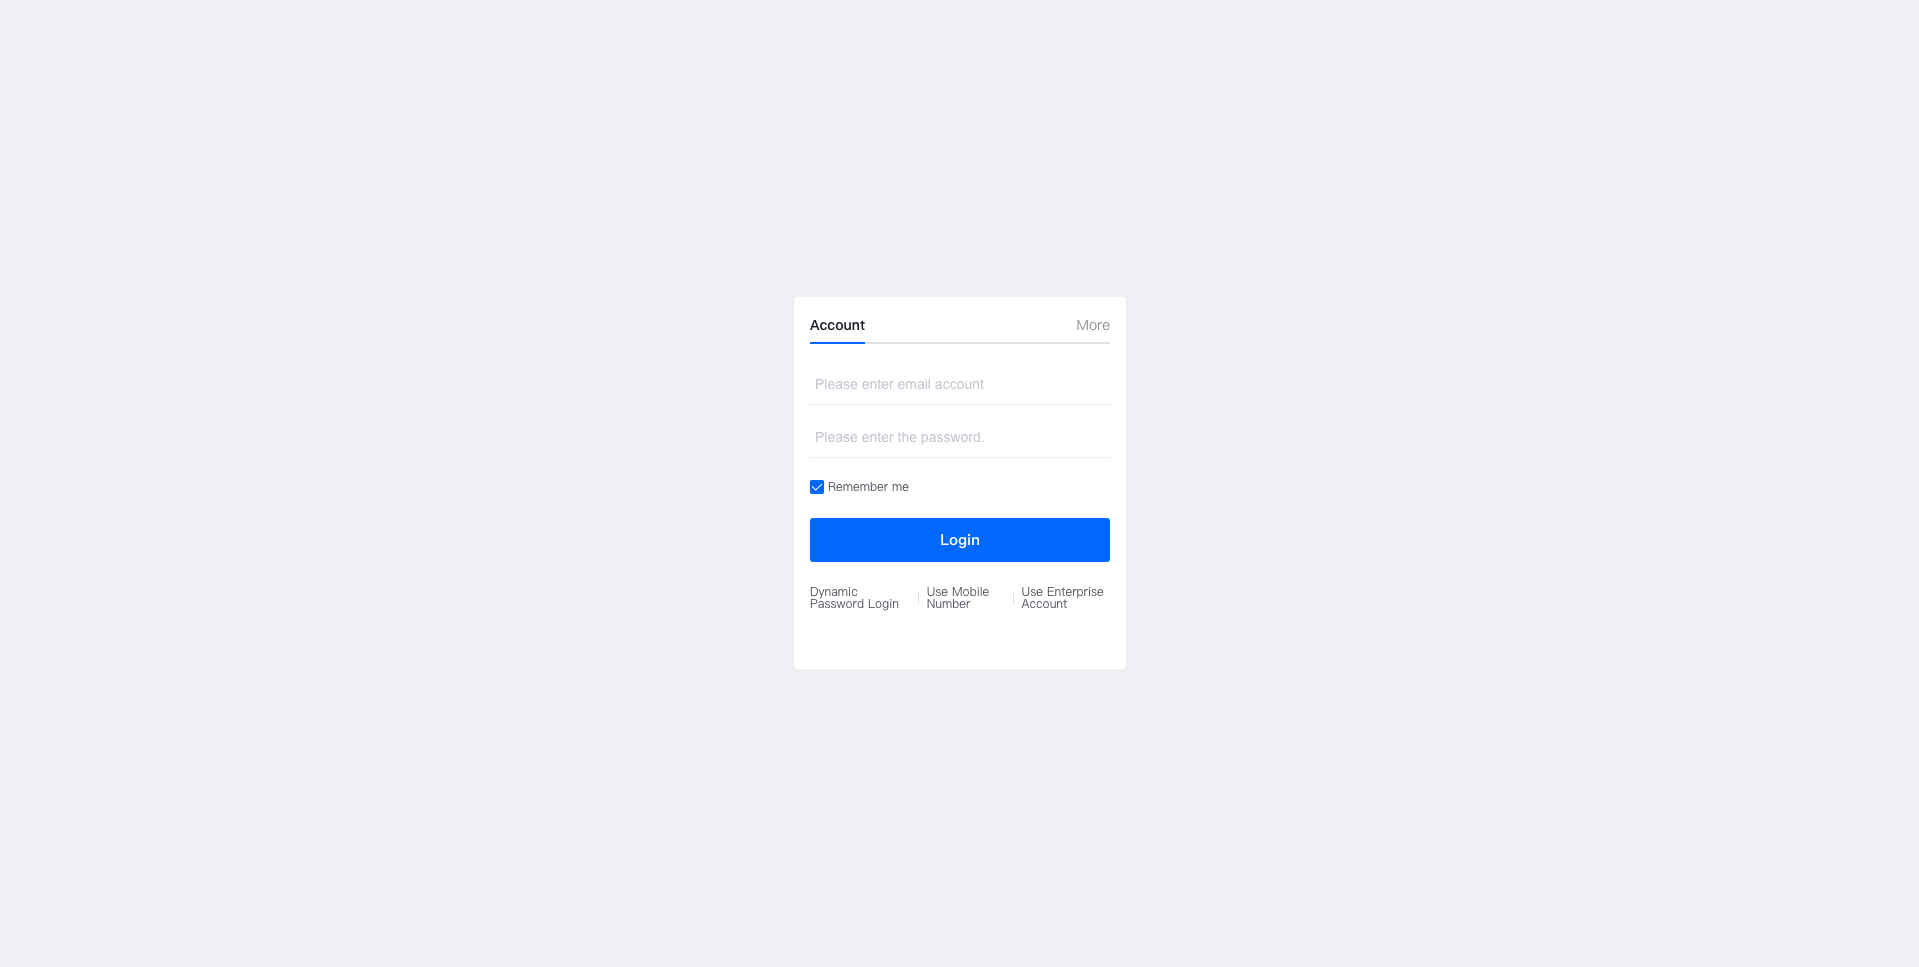
Let's outline the requirements:
- The login component defaults to English.
- QR code scanning is not displayed.
- The default active tab is account login.
- Email login is displayed by default under account login.
- Email login does not support password changes, while phone login does.
- The theme color is blue.
- The enterprise list displays only 5 enterprises.
- Additional login methods are added to the "More Login" options.
- Login agreements are not displayed.
Based on these requirements, we organize the logic as follows:
<script>
export default {
  data() {
    return {
      options: {
        lang: "en",
        qrcode: false,
        activeTabIndex: 0,
        activeLoginType: "email",
        changePasswordTypes: ["phone"],
        themeColor: "#0c6cff",
        filterEnterpriseList: this.filterEnterpriseList,
        moreLoginTypes: [
          {
            name: "Custom More Login",
            href: "http://www.baidu.com",
            logo: ""
          }
        ],
        showAgreement: false
      }
    };
  },
  methods: {
    filterEnterpriseList(data) {
      return data.slice(0, 5);
    }
  }
};
</script>
# Adding Styles
<style lang="less" scoped>
.wrapper {
  width: 100vw;
  height: 100vh;
  display: flex;
  align-items: center;
  justify-content: center;
  .login-wrapper {
    padding: 16px;
    border-radius: 4px;
    background-color: #fff;
  }
}
</style>
# Final Complete Code
<template>
  <div class="wrapper">
    <div class="login-wrapper">
      <fx-login v-bind="options"></fx-login>
    </div>
  </div>
</template>
<script>
export default {
  data() {
    return {
      options: {
        lang: "en",
        qrcode: false,
        activeTabIndex: 0,
        activeLoginType: "email",
        changePasswordTypes: ["phone"],
        themeColor: "#0c6cff",
        filterEnterpriseList: this.filterEnterpriseList,
        moreLoginTypes: [
          {
            name: "Custom More Login",
            href: "http://www.baidu.com",
            logo: ""
          }
        ],
        showAgreement: false
      }
    };
  },
  methods: {
    filterEnterpriseList(data) {
      return data.slice(0, 5);
    }
  }
};
</script>
<style lang="less" scoped>
.wrapper {
  width: 100vw;
  height: 100vh;
  display: flex;
  align-items: center;
  justify-content: center;
  .login-wrapper {
    padding: 16px;
    border-radius: 4px;
    background-color: #fff;
  }
}
</style>
# Actual Display Effect