Configuration Steps
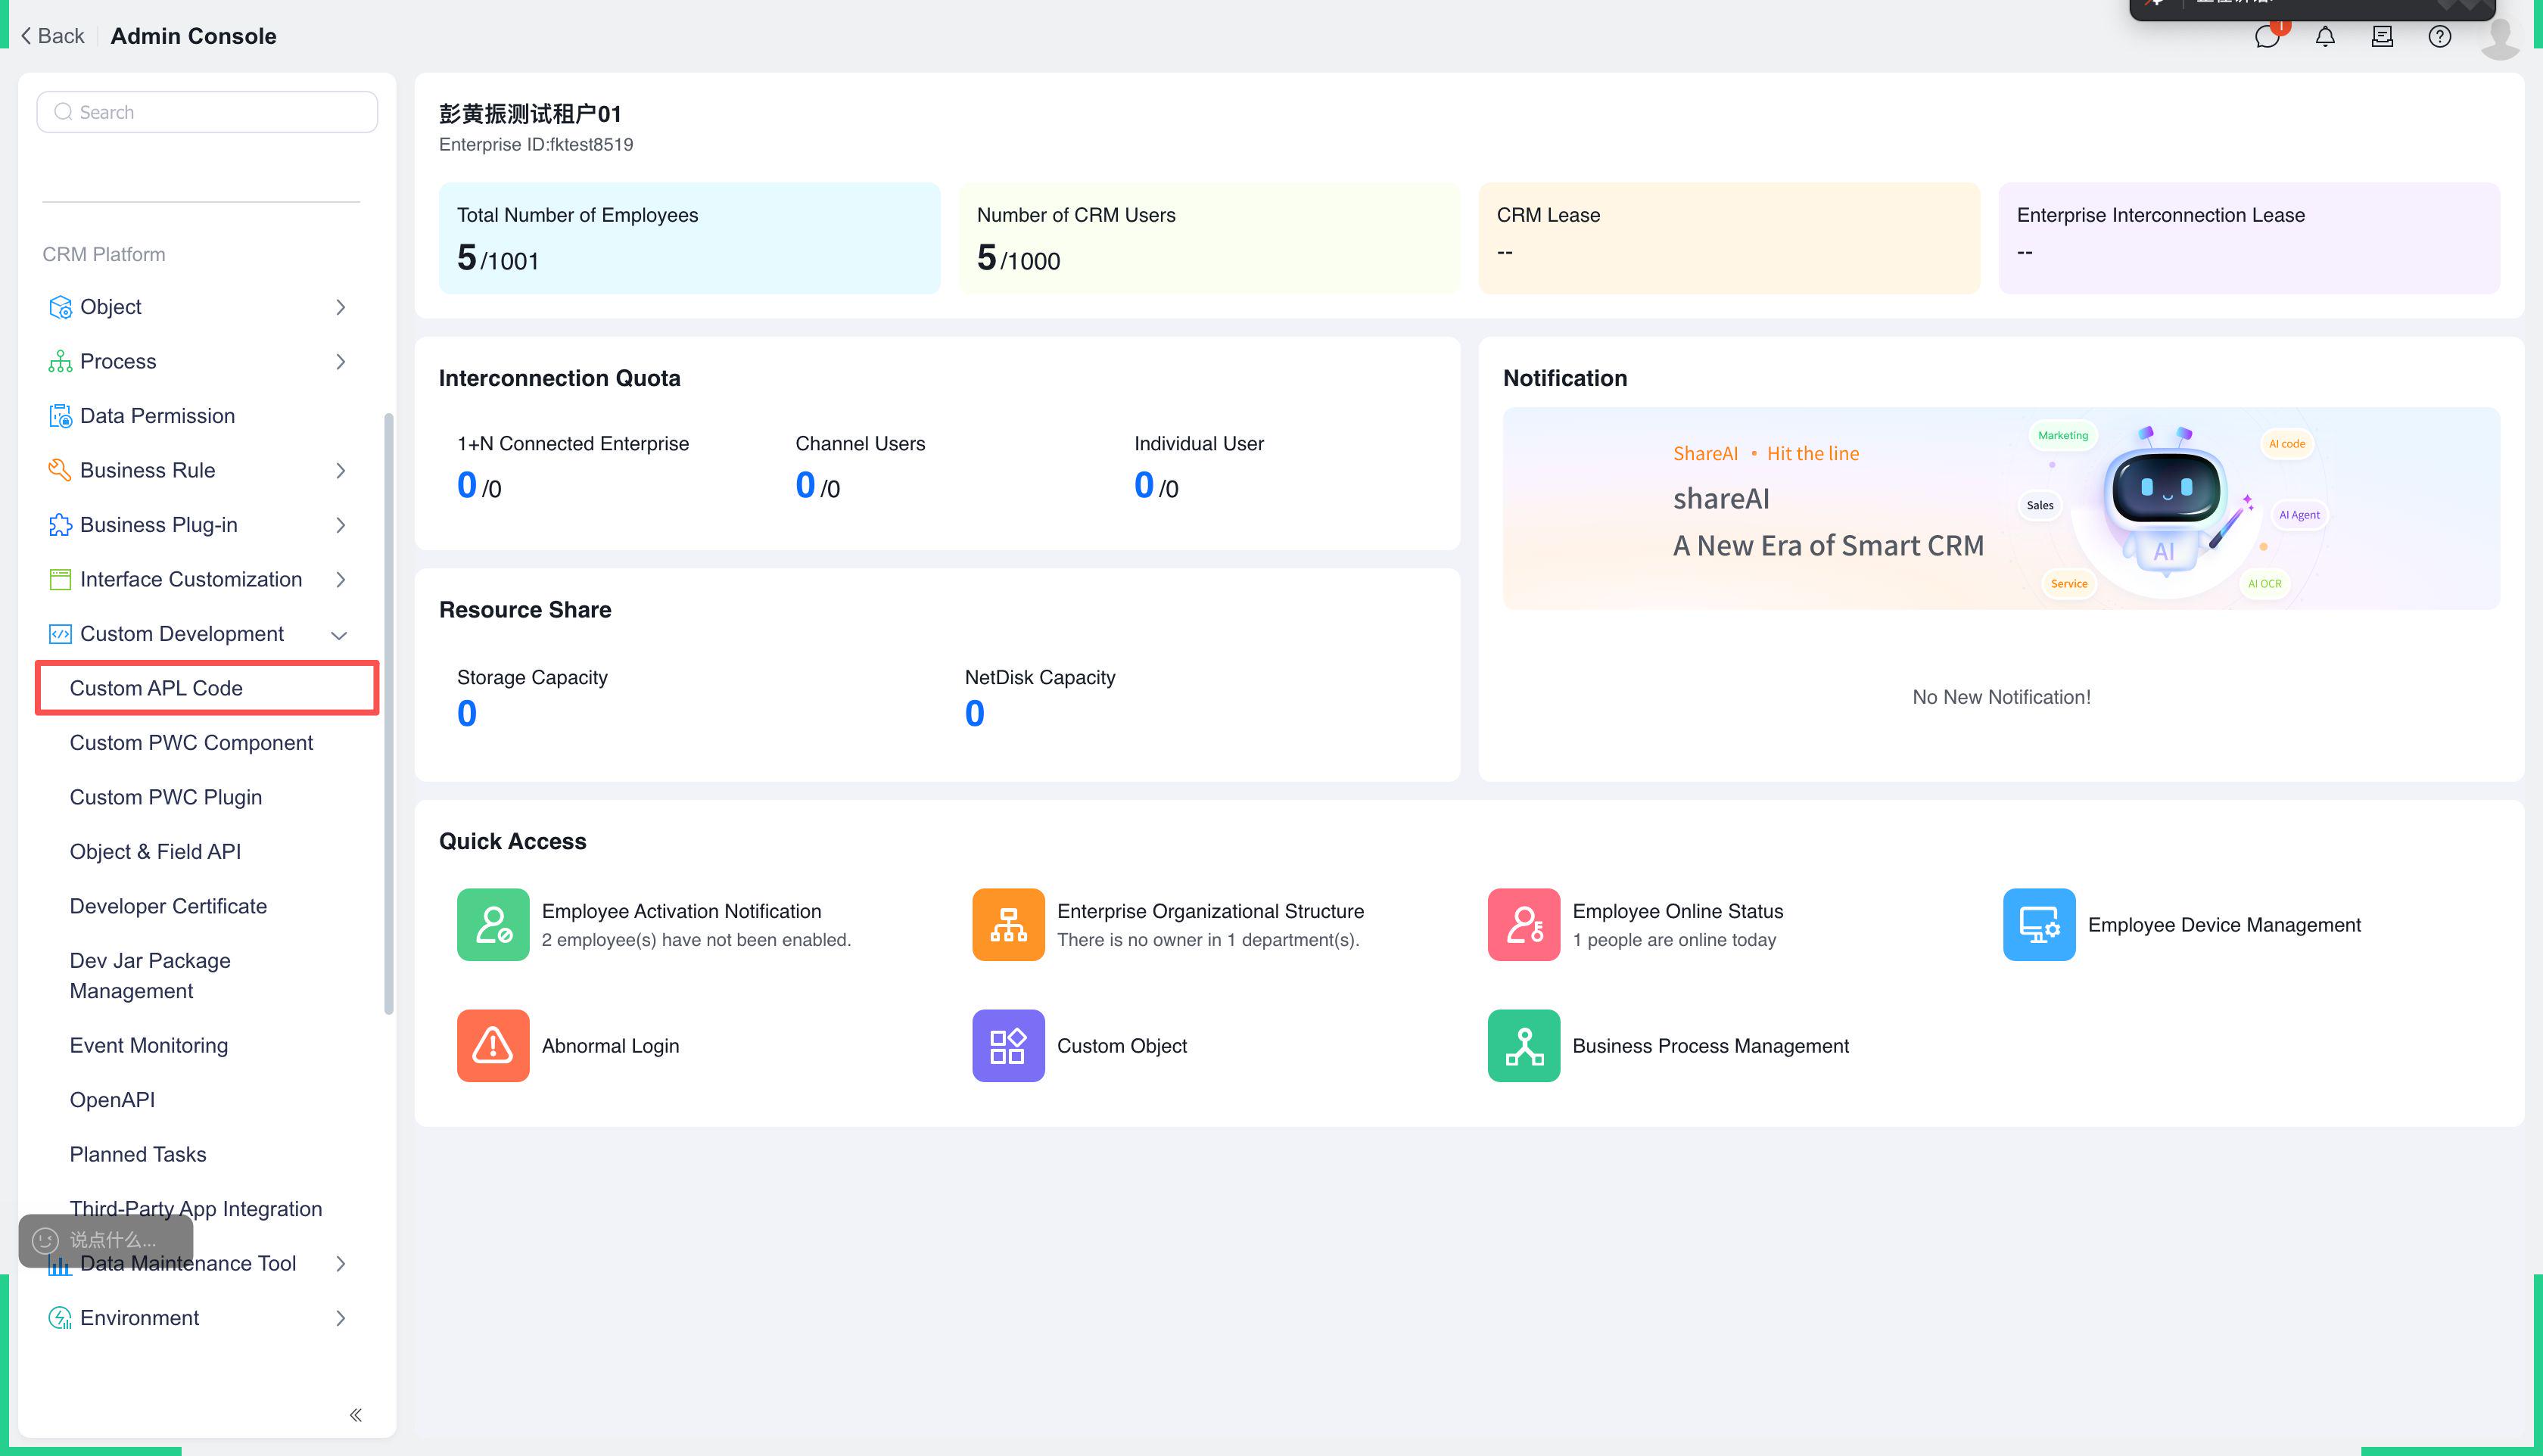
# I. Create Function
# 1. Entry Point
【Custom Development Platform】-【Custom APL Code】
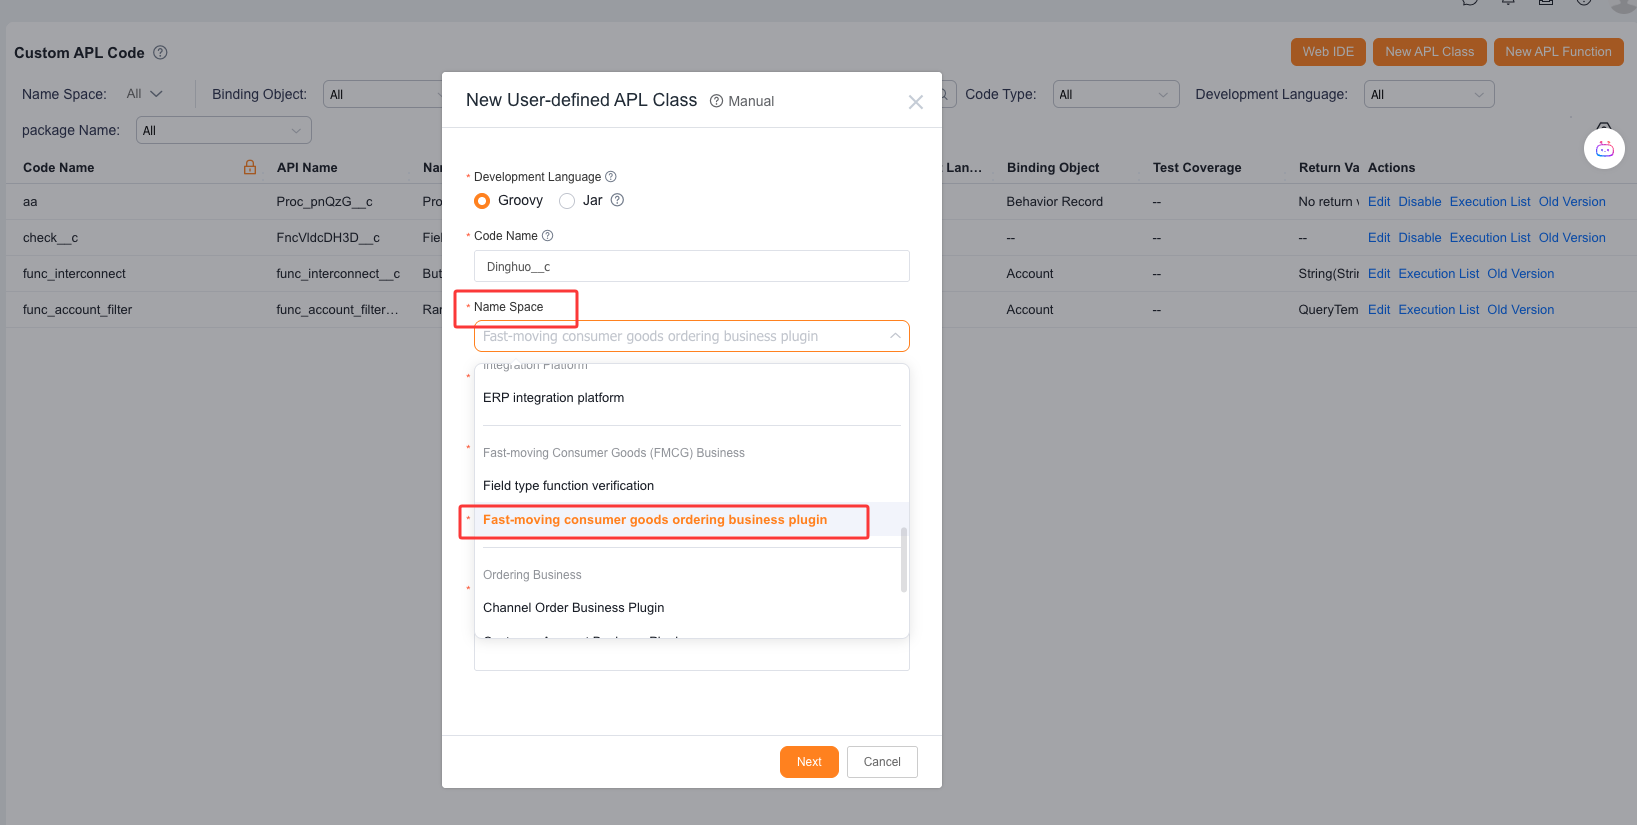
# 2. Create a new custom APL class and select namespace 【FMCG Order Business Plugin】
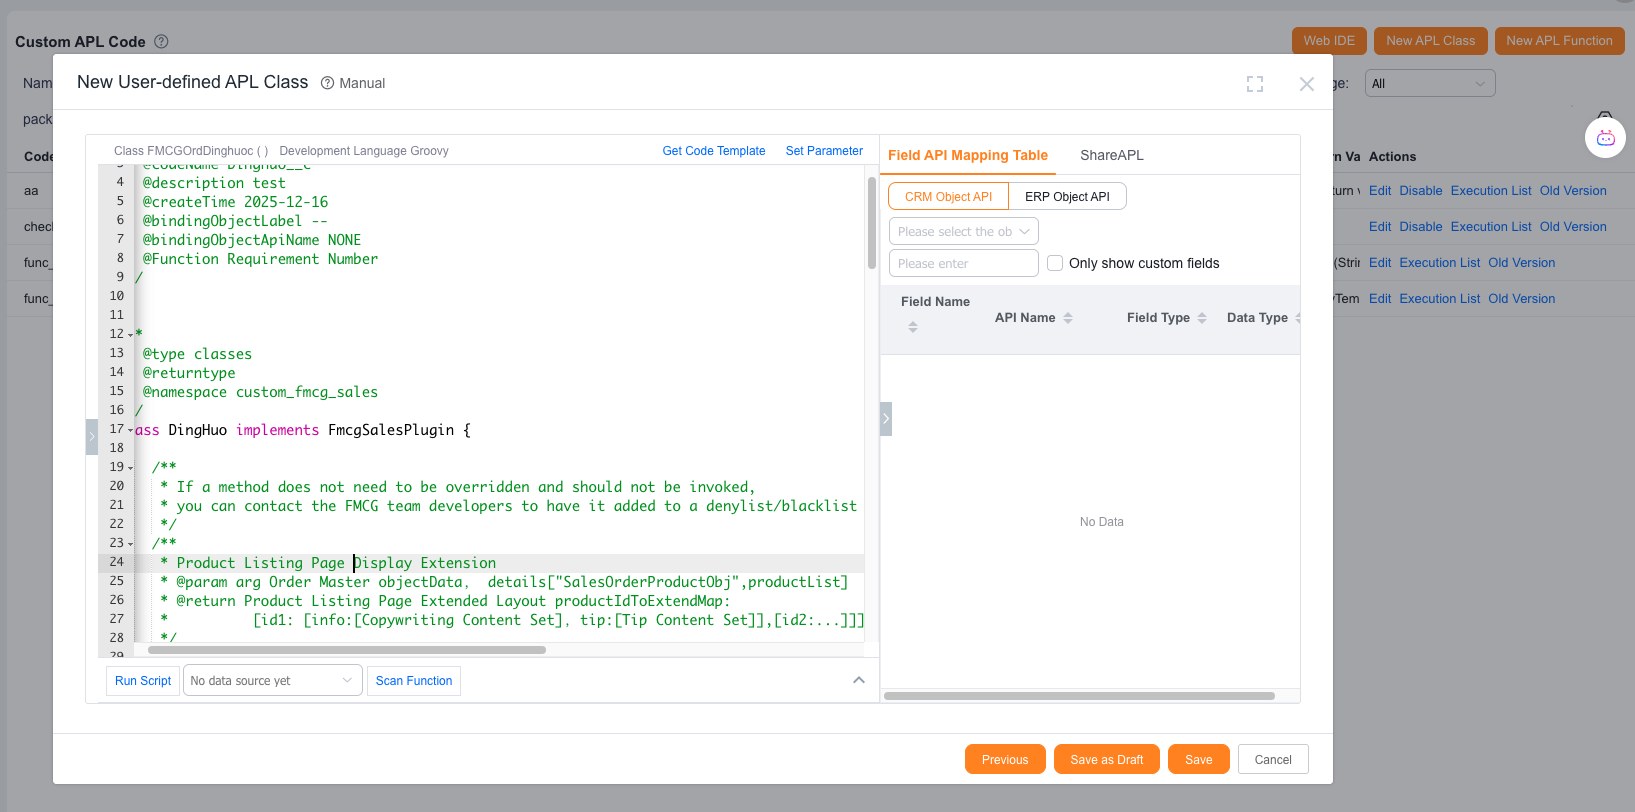
# 3. The development team has pre-written function templates. Implementation personnel only need to modify specific functions according to the comments.
# II. Field Operation - Field Action - Order Action - Bind Function
# 1. Entry Point
【More】-【Field Operations】
# 2. Click 【Field Settings】-【Field Actions】
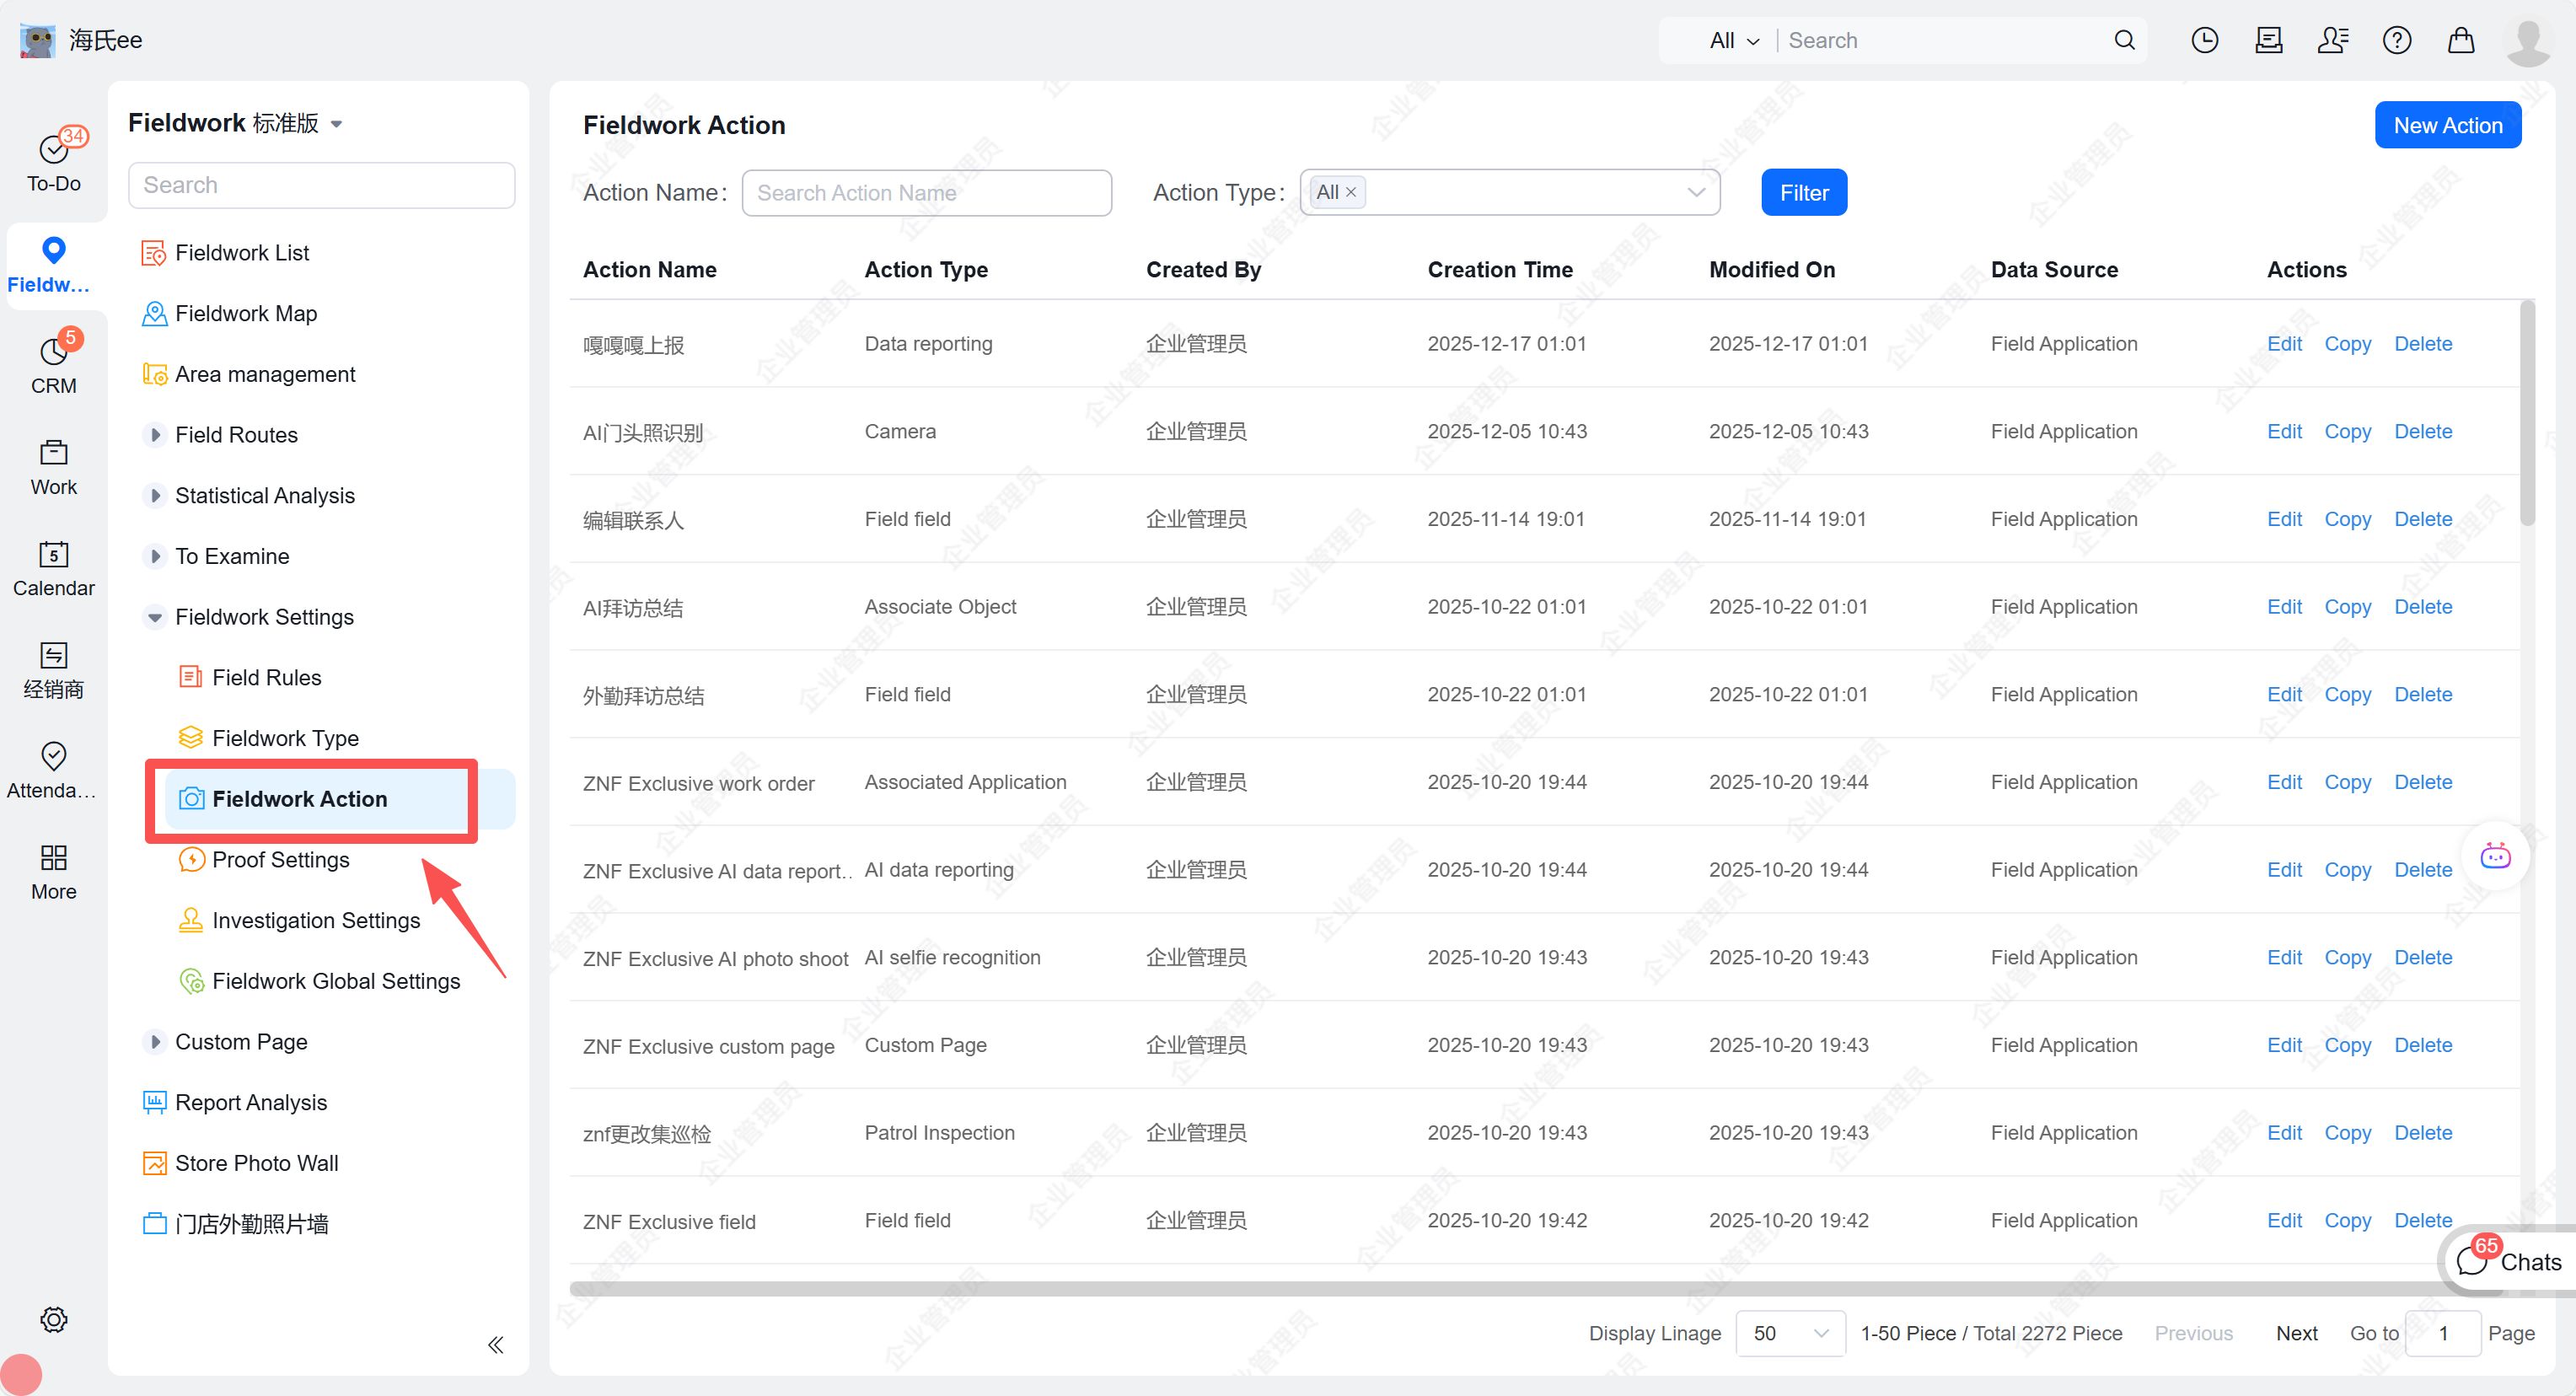
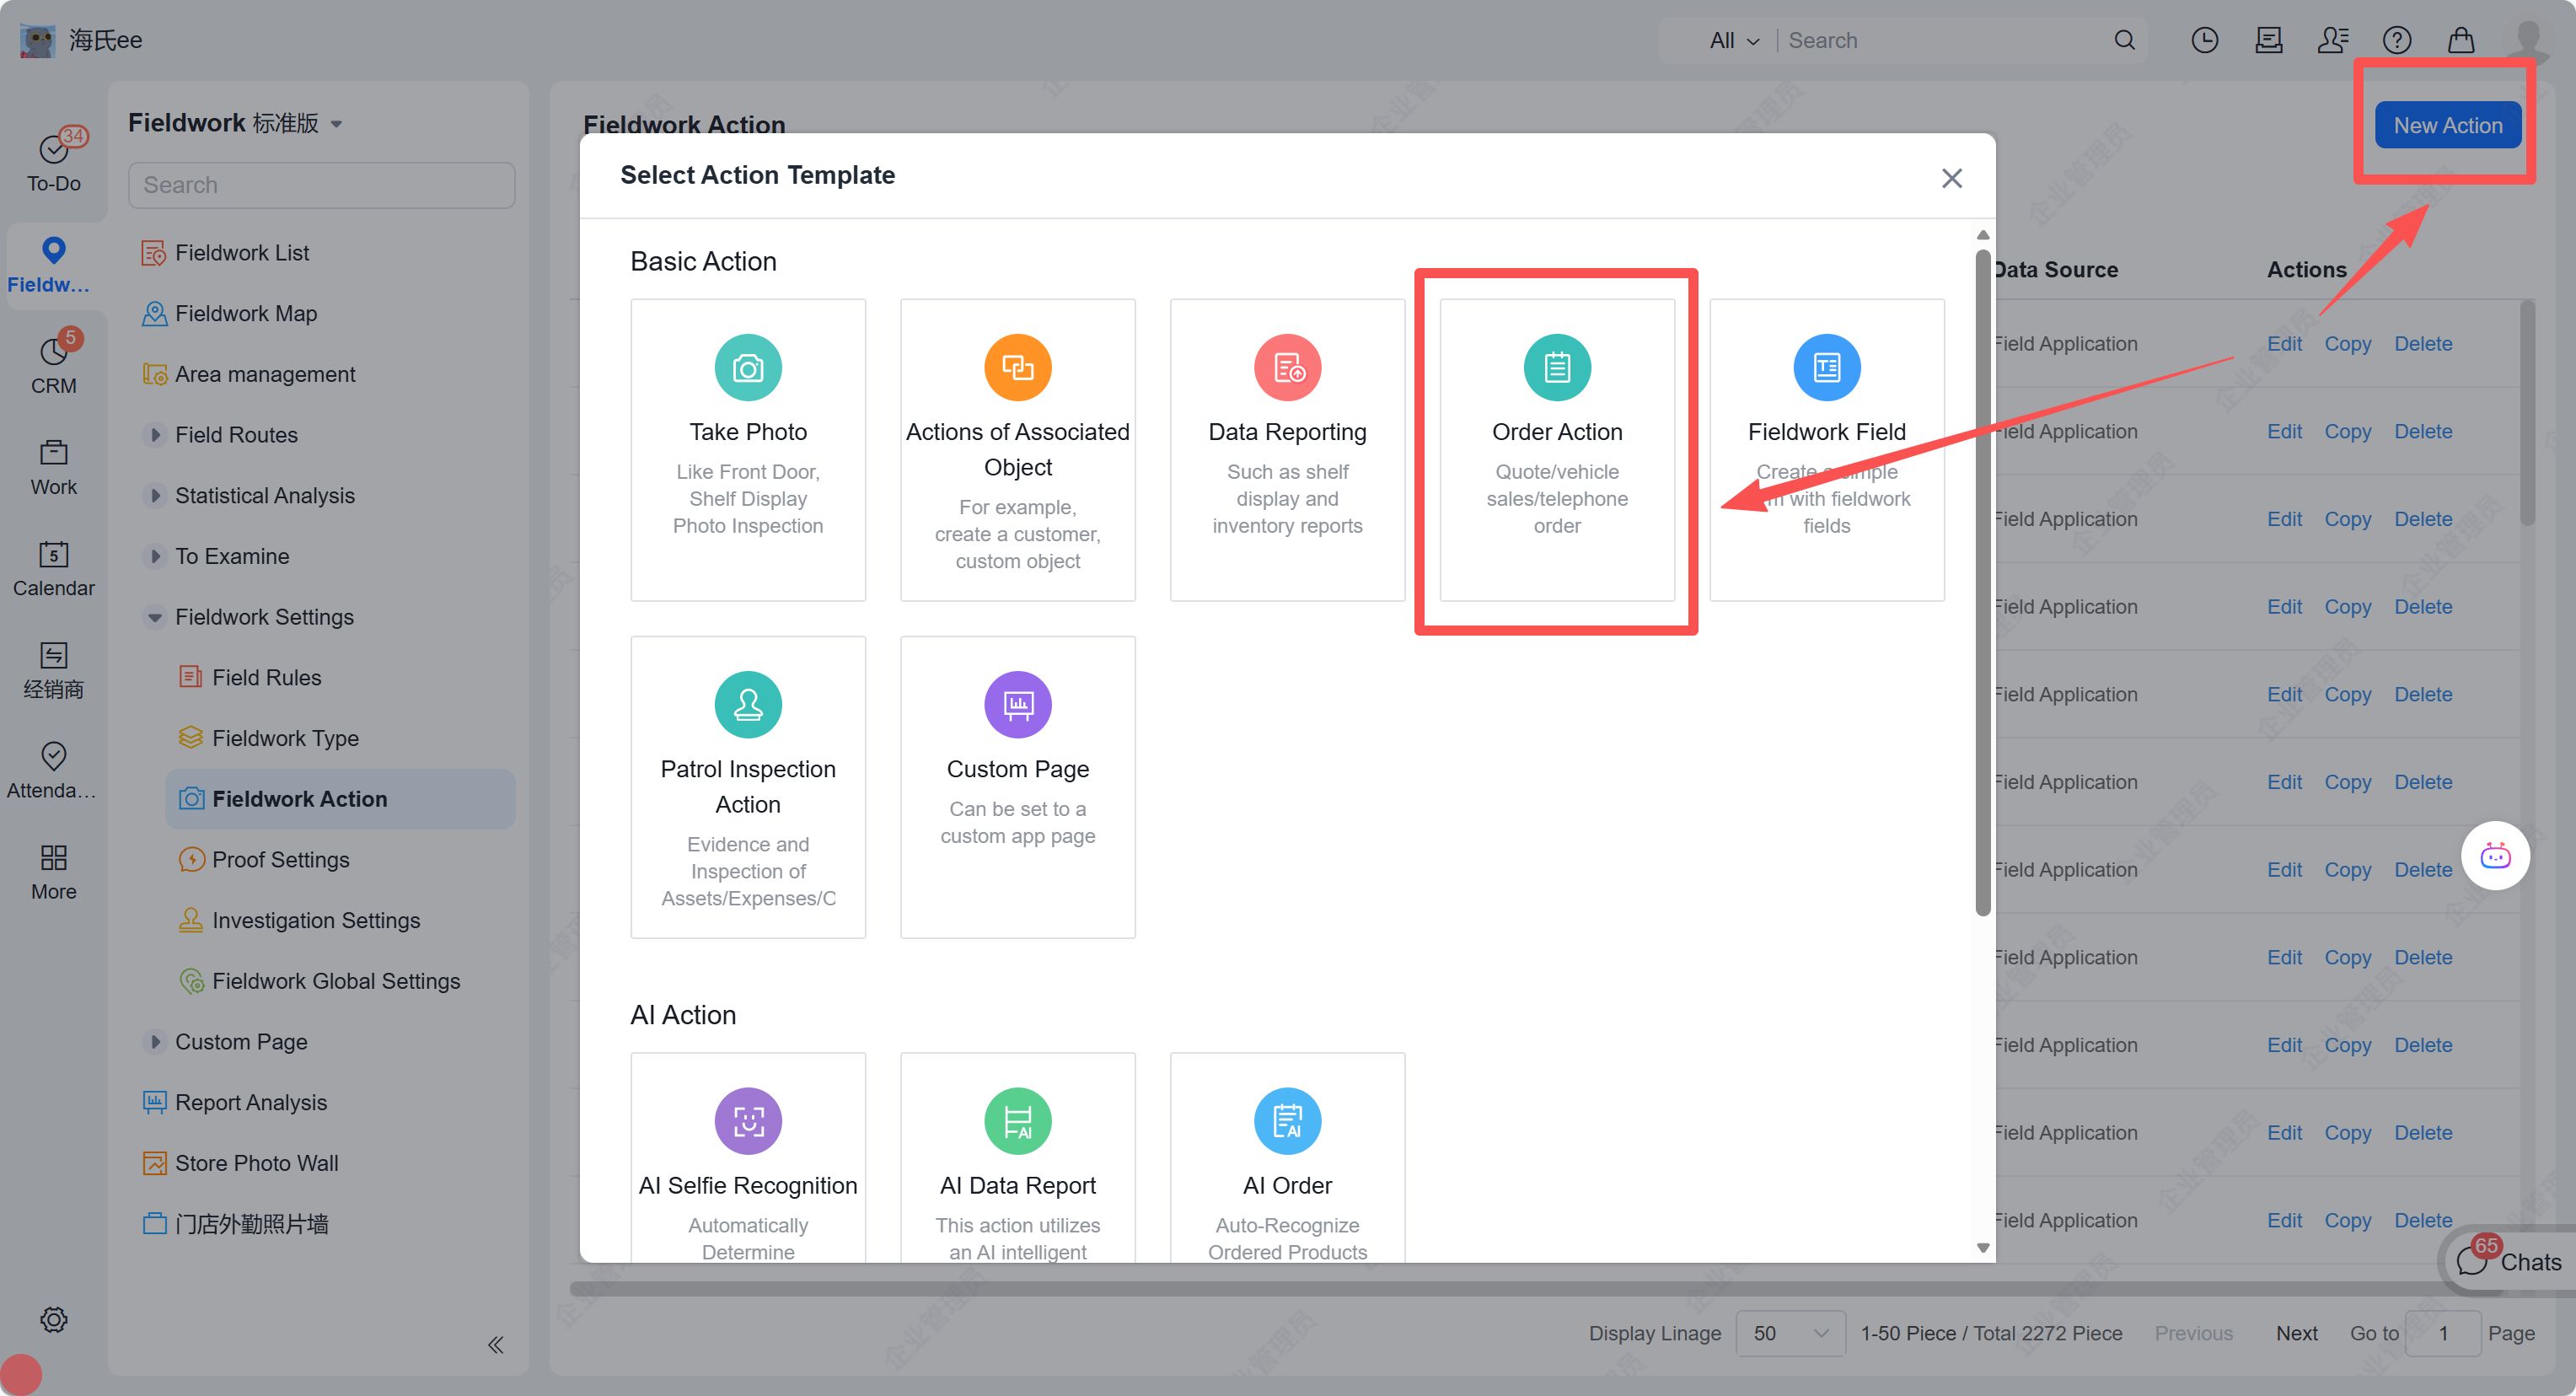
# 3. Click "New Action" to create 【Order Action】
# 4. To utilize list page or data submission capabilities, select the specified function in the "Advanced Capabilities" section of the order action.
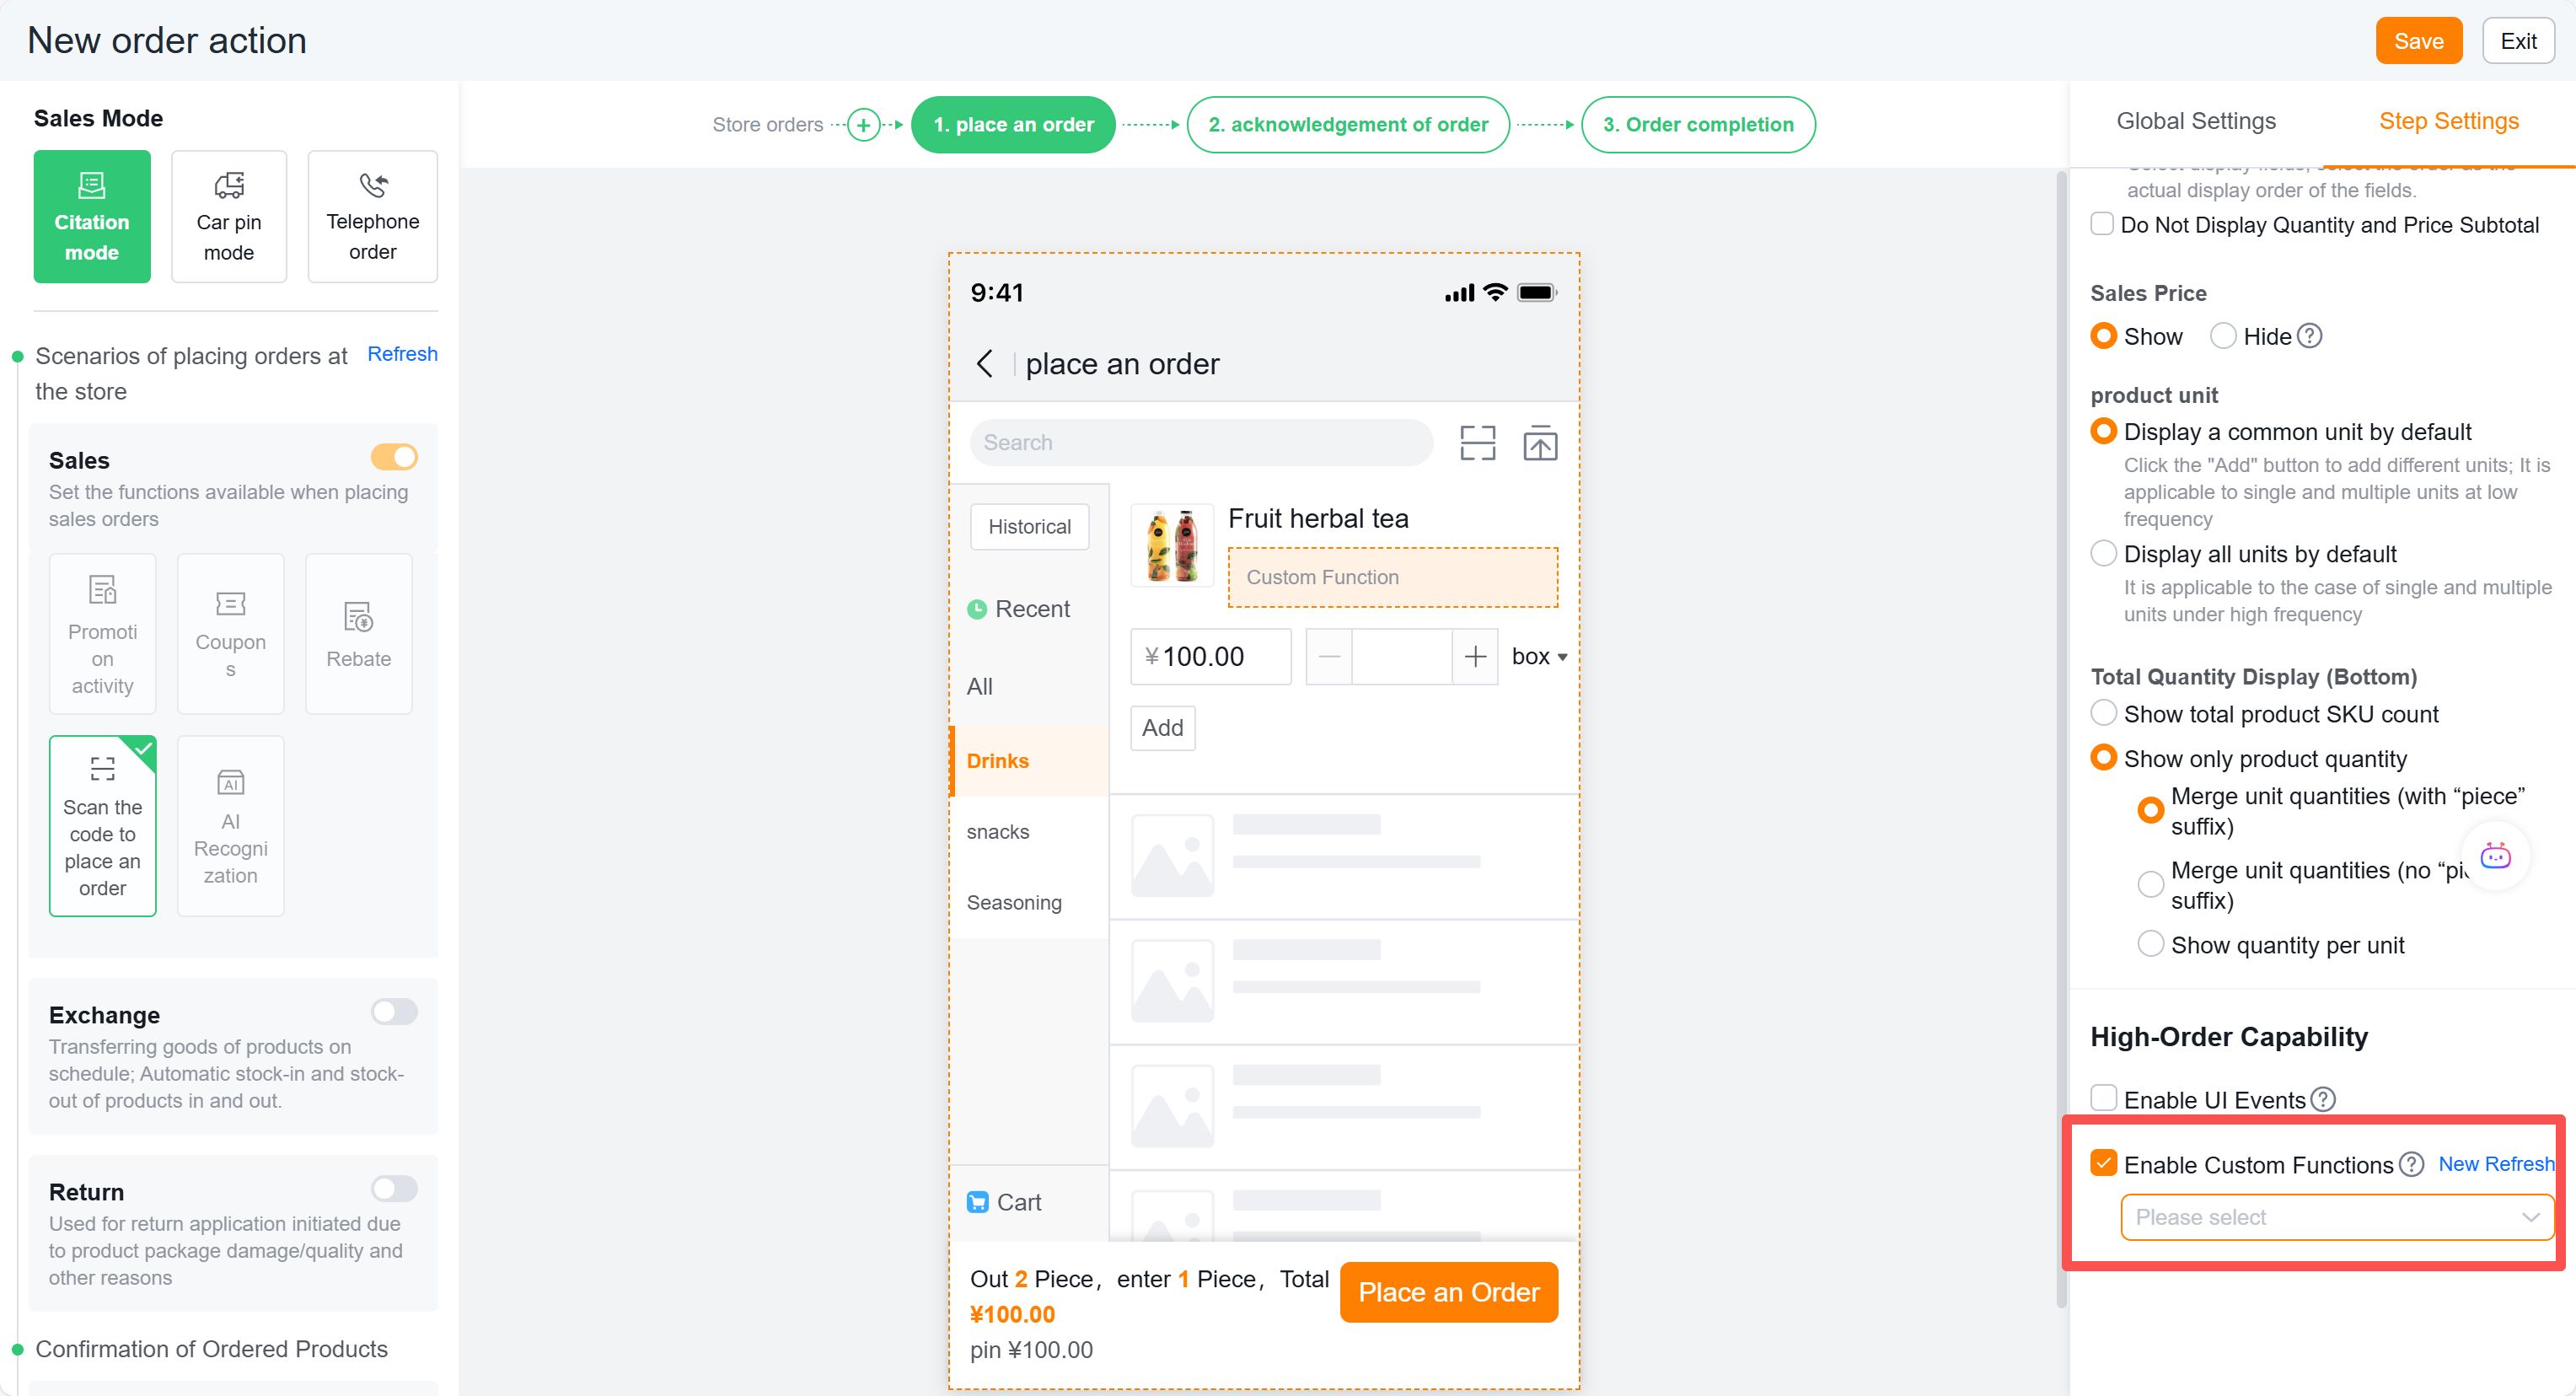
# 5. To add custom pages while controlling conditional skips, configure as follows and select the specified function.
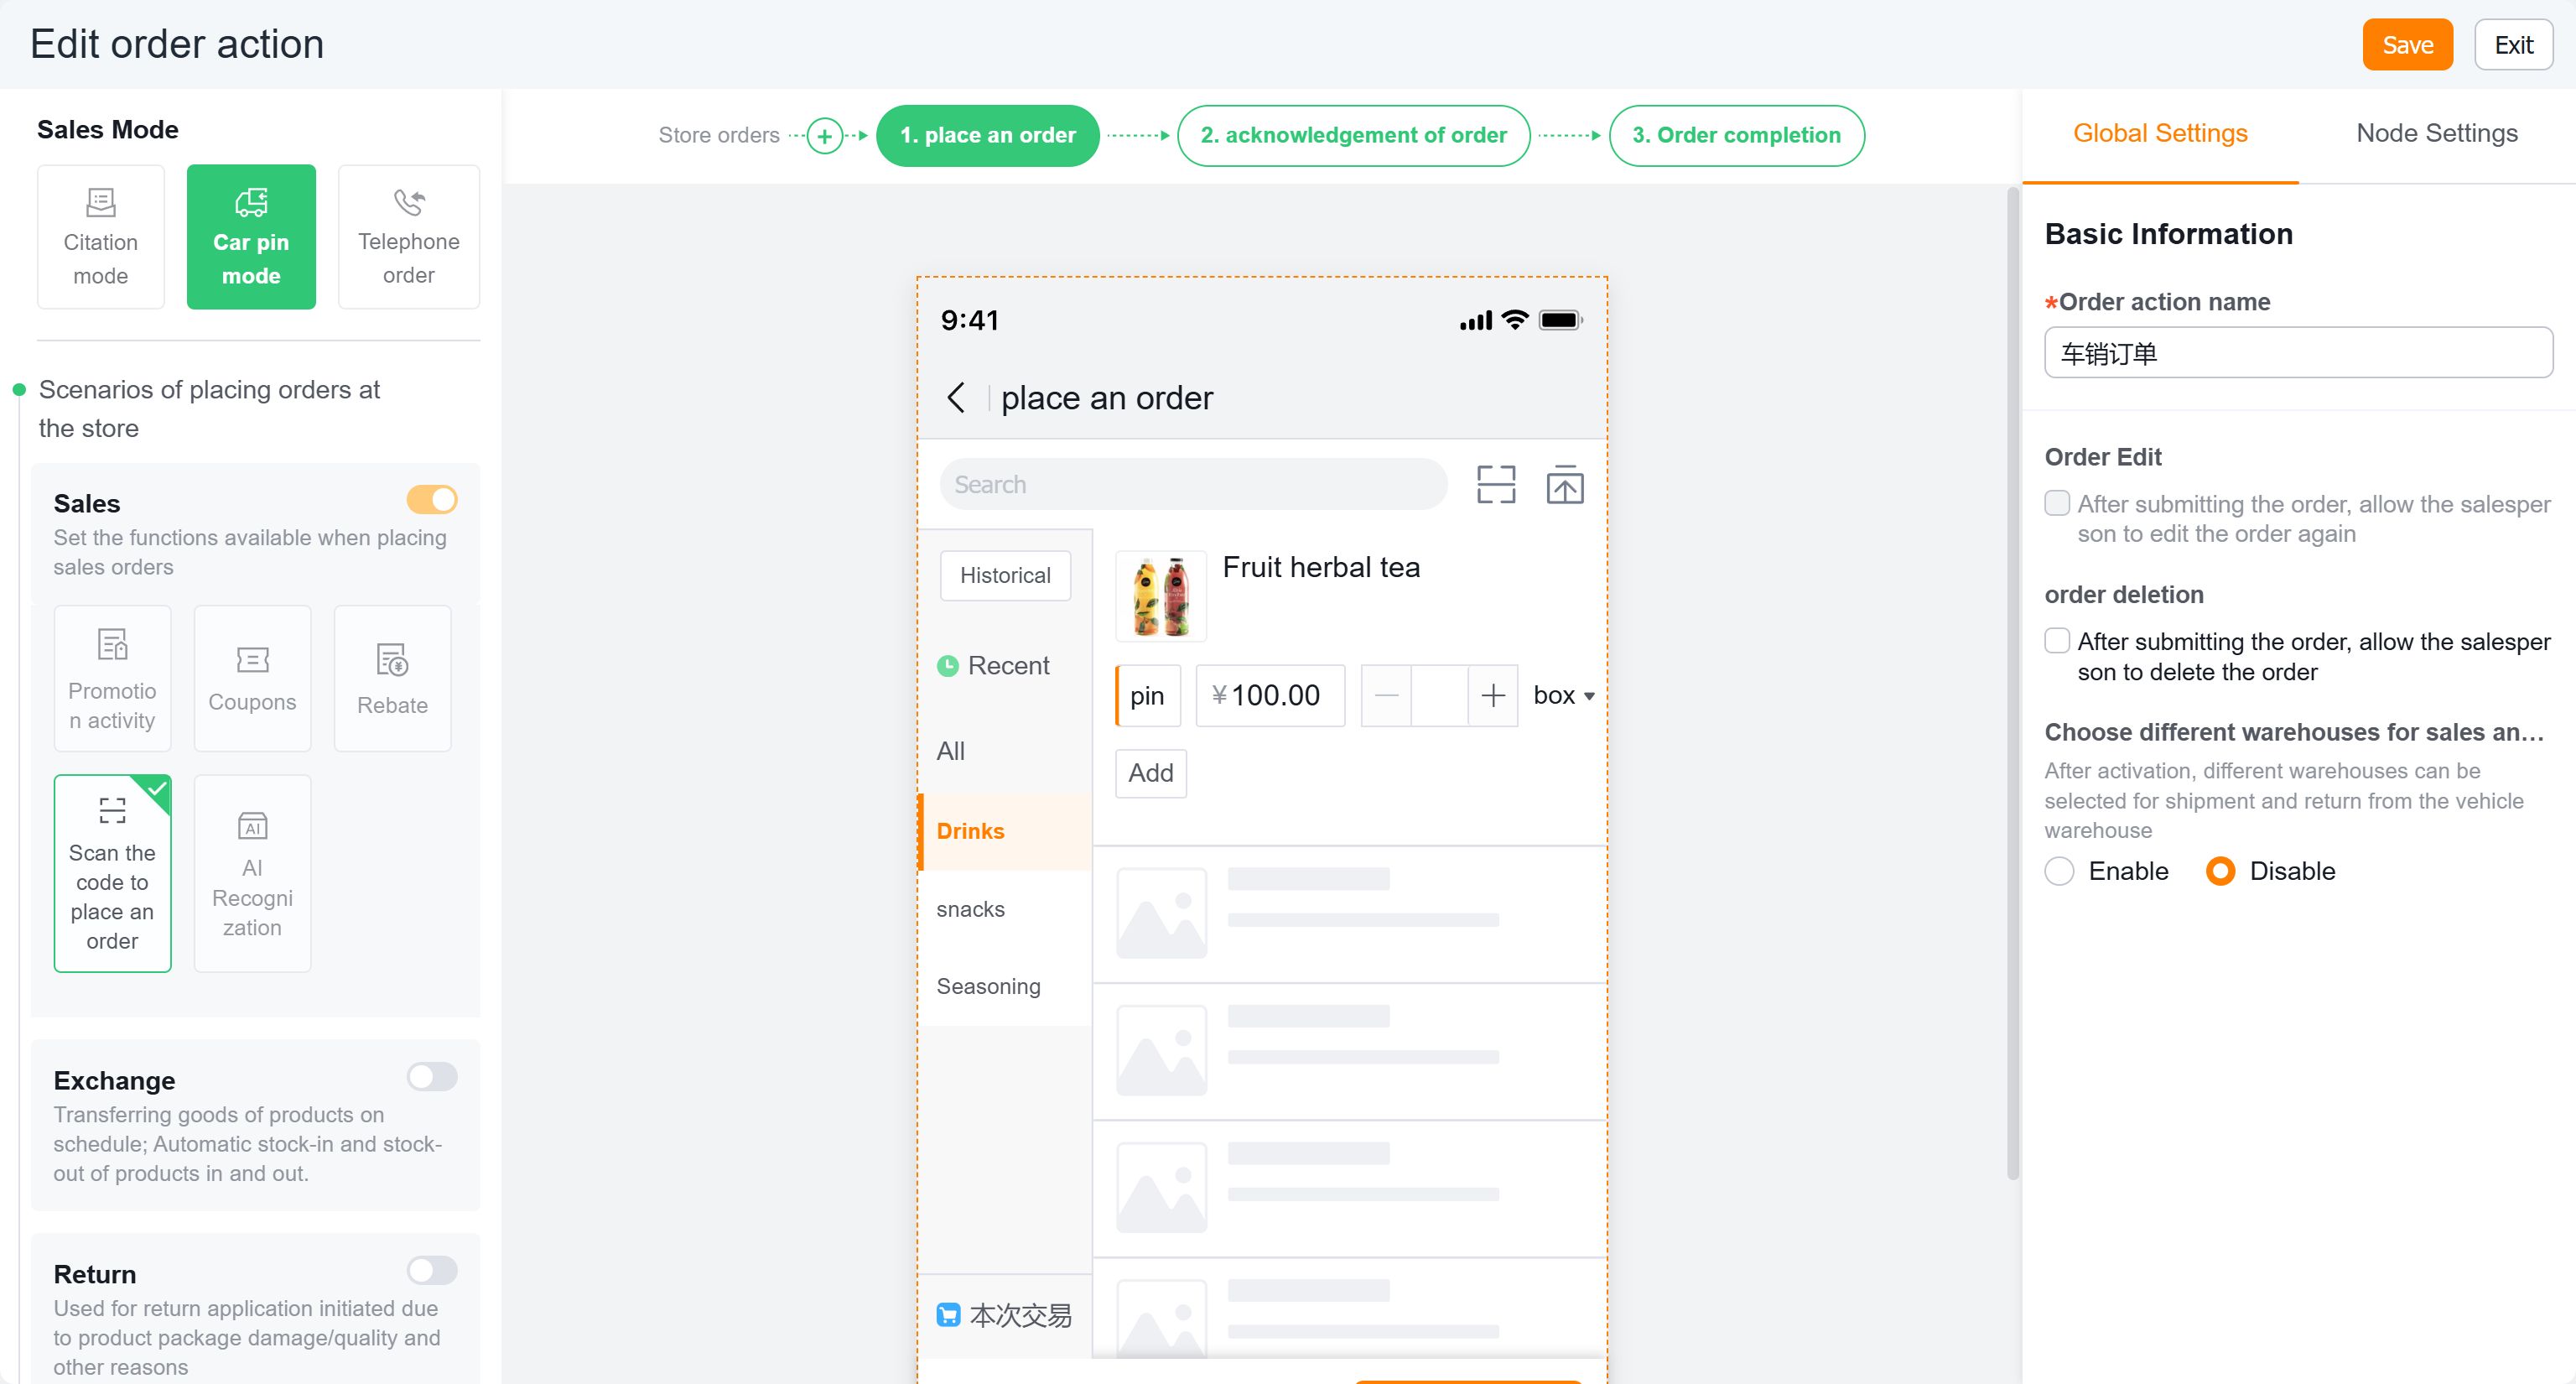
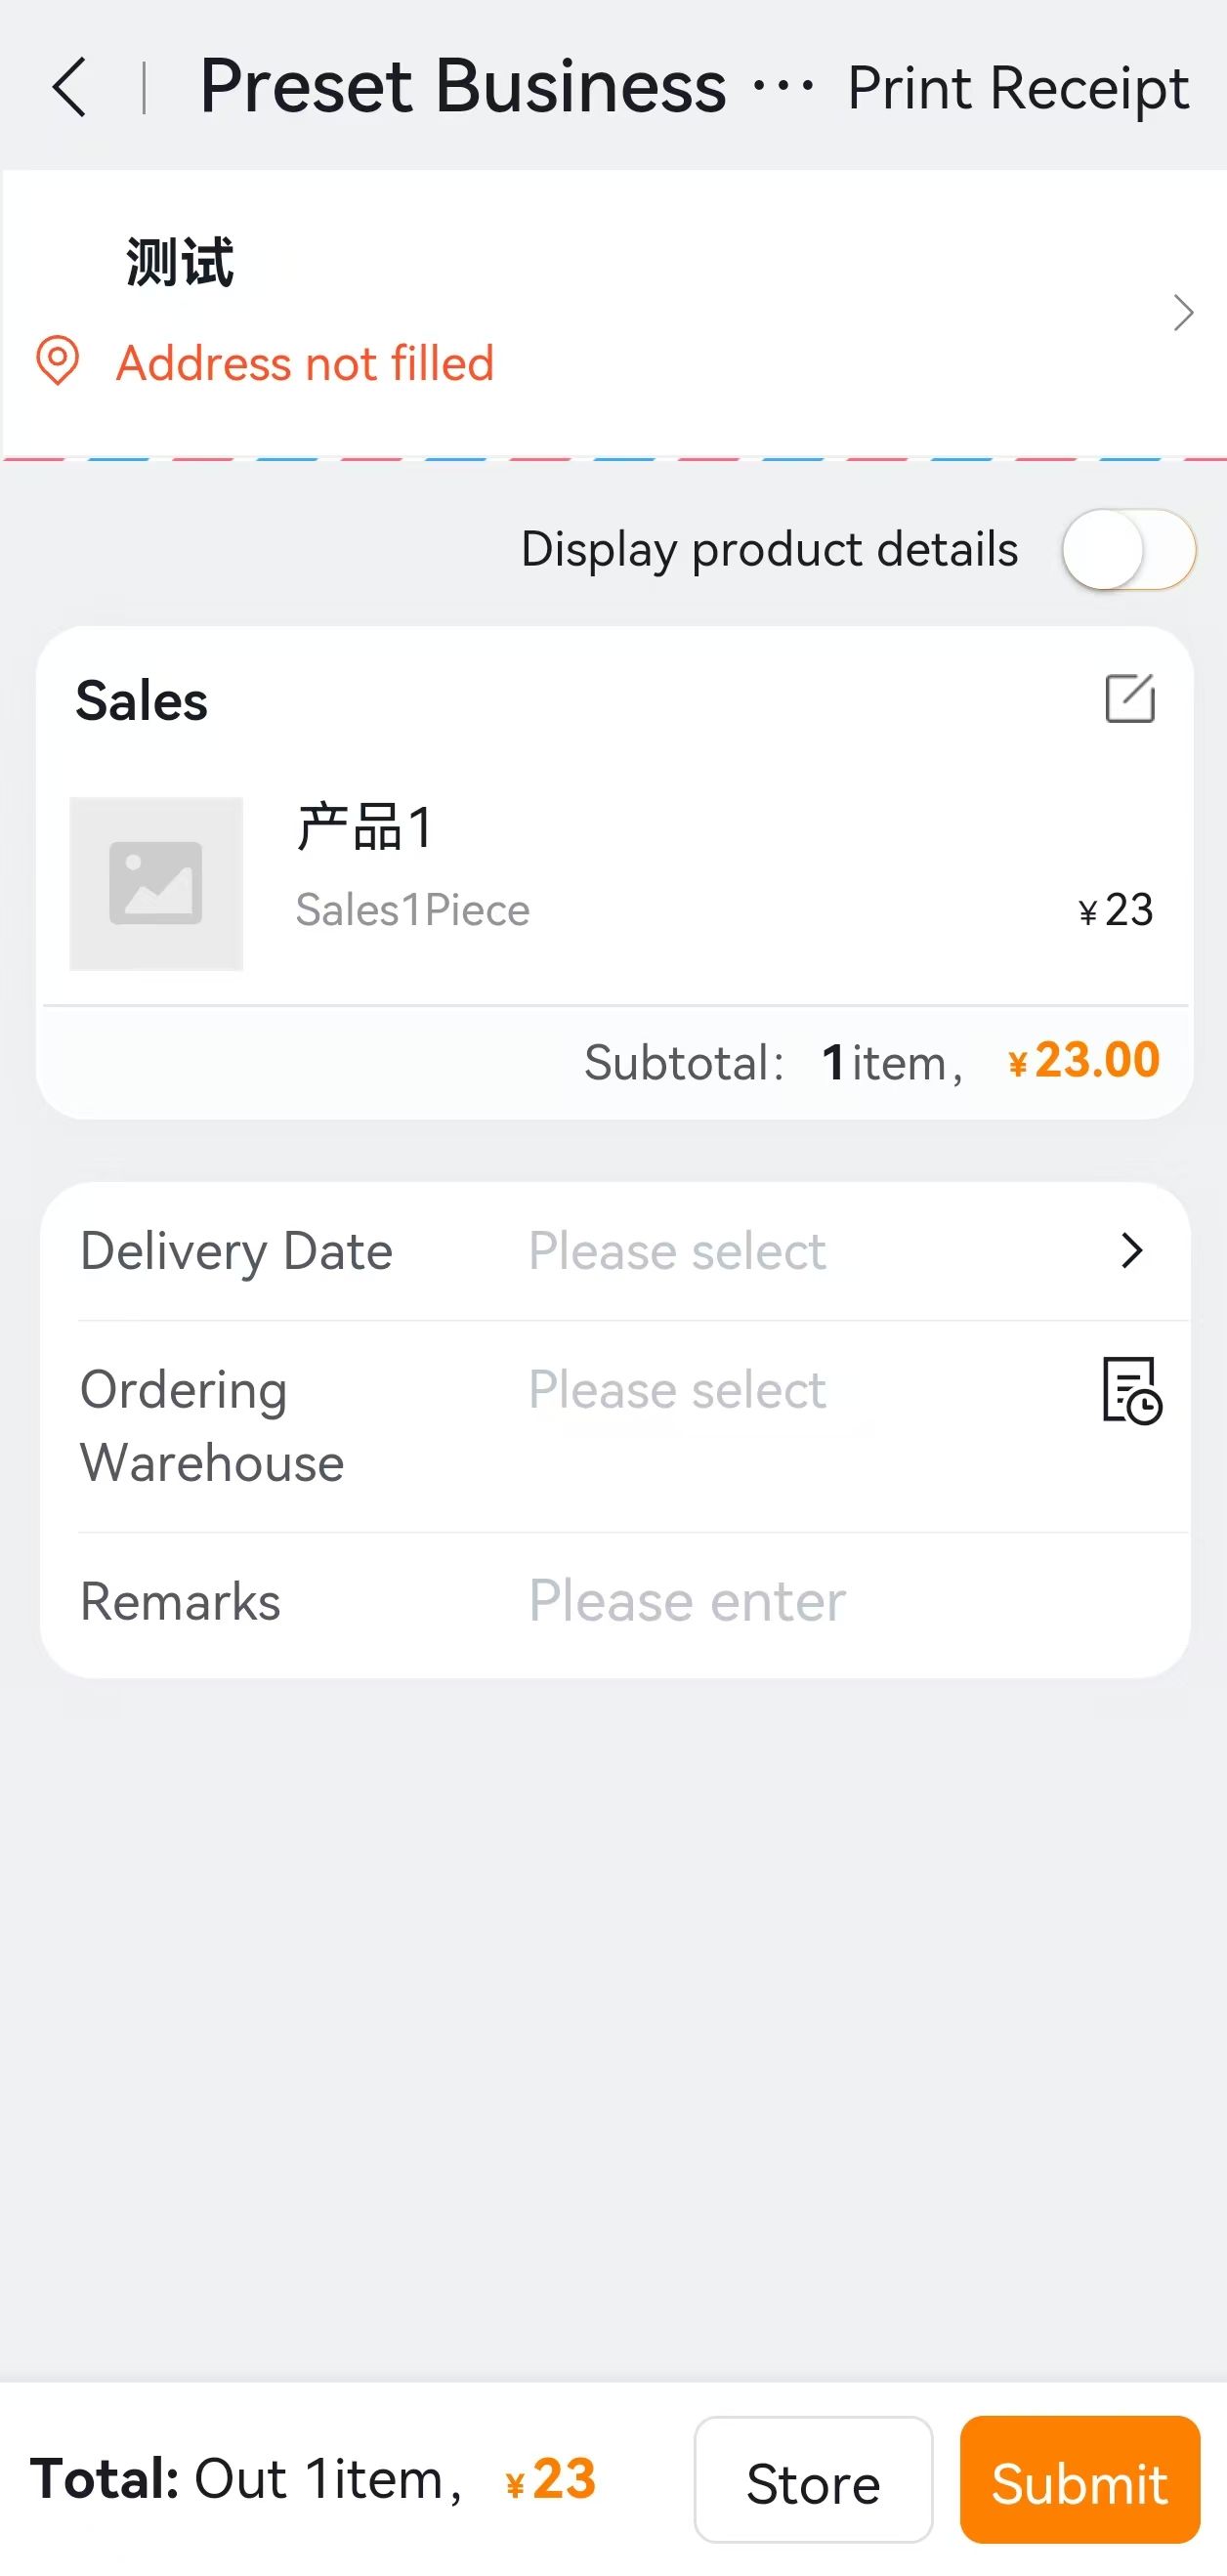
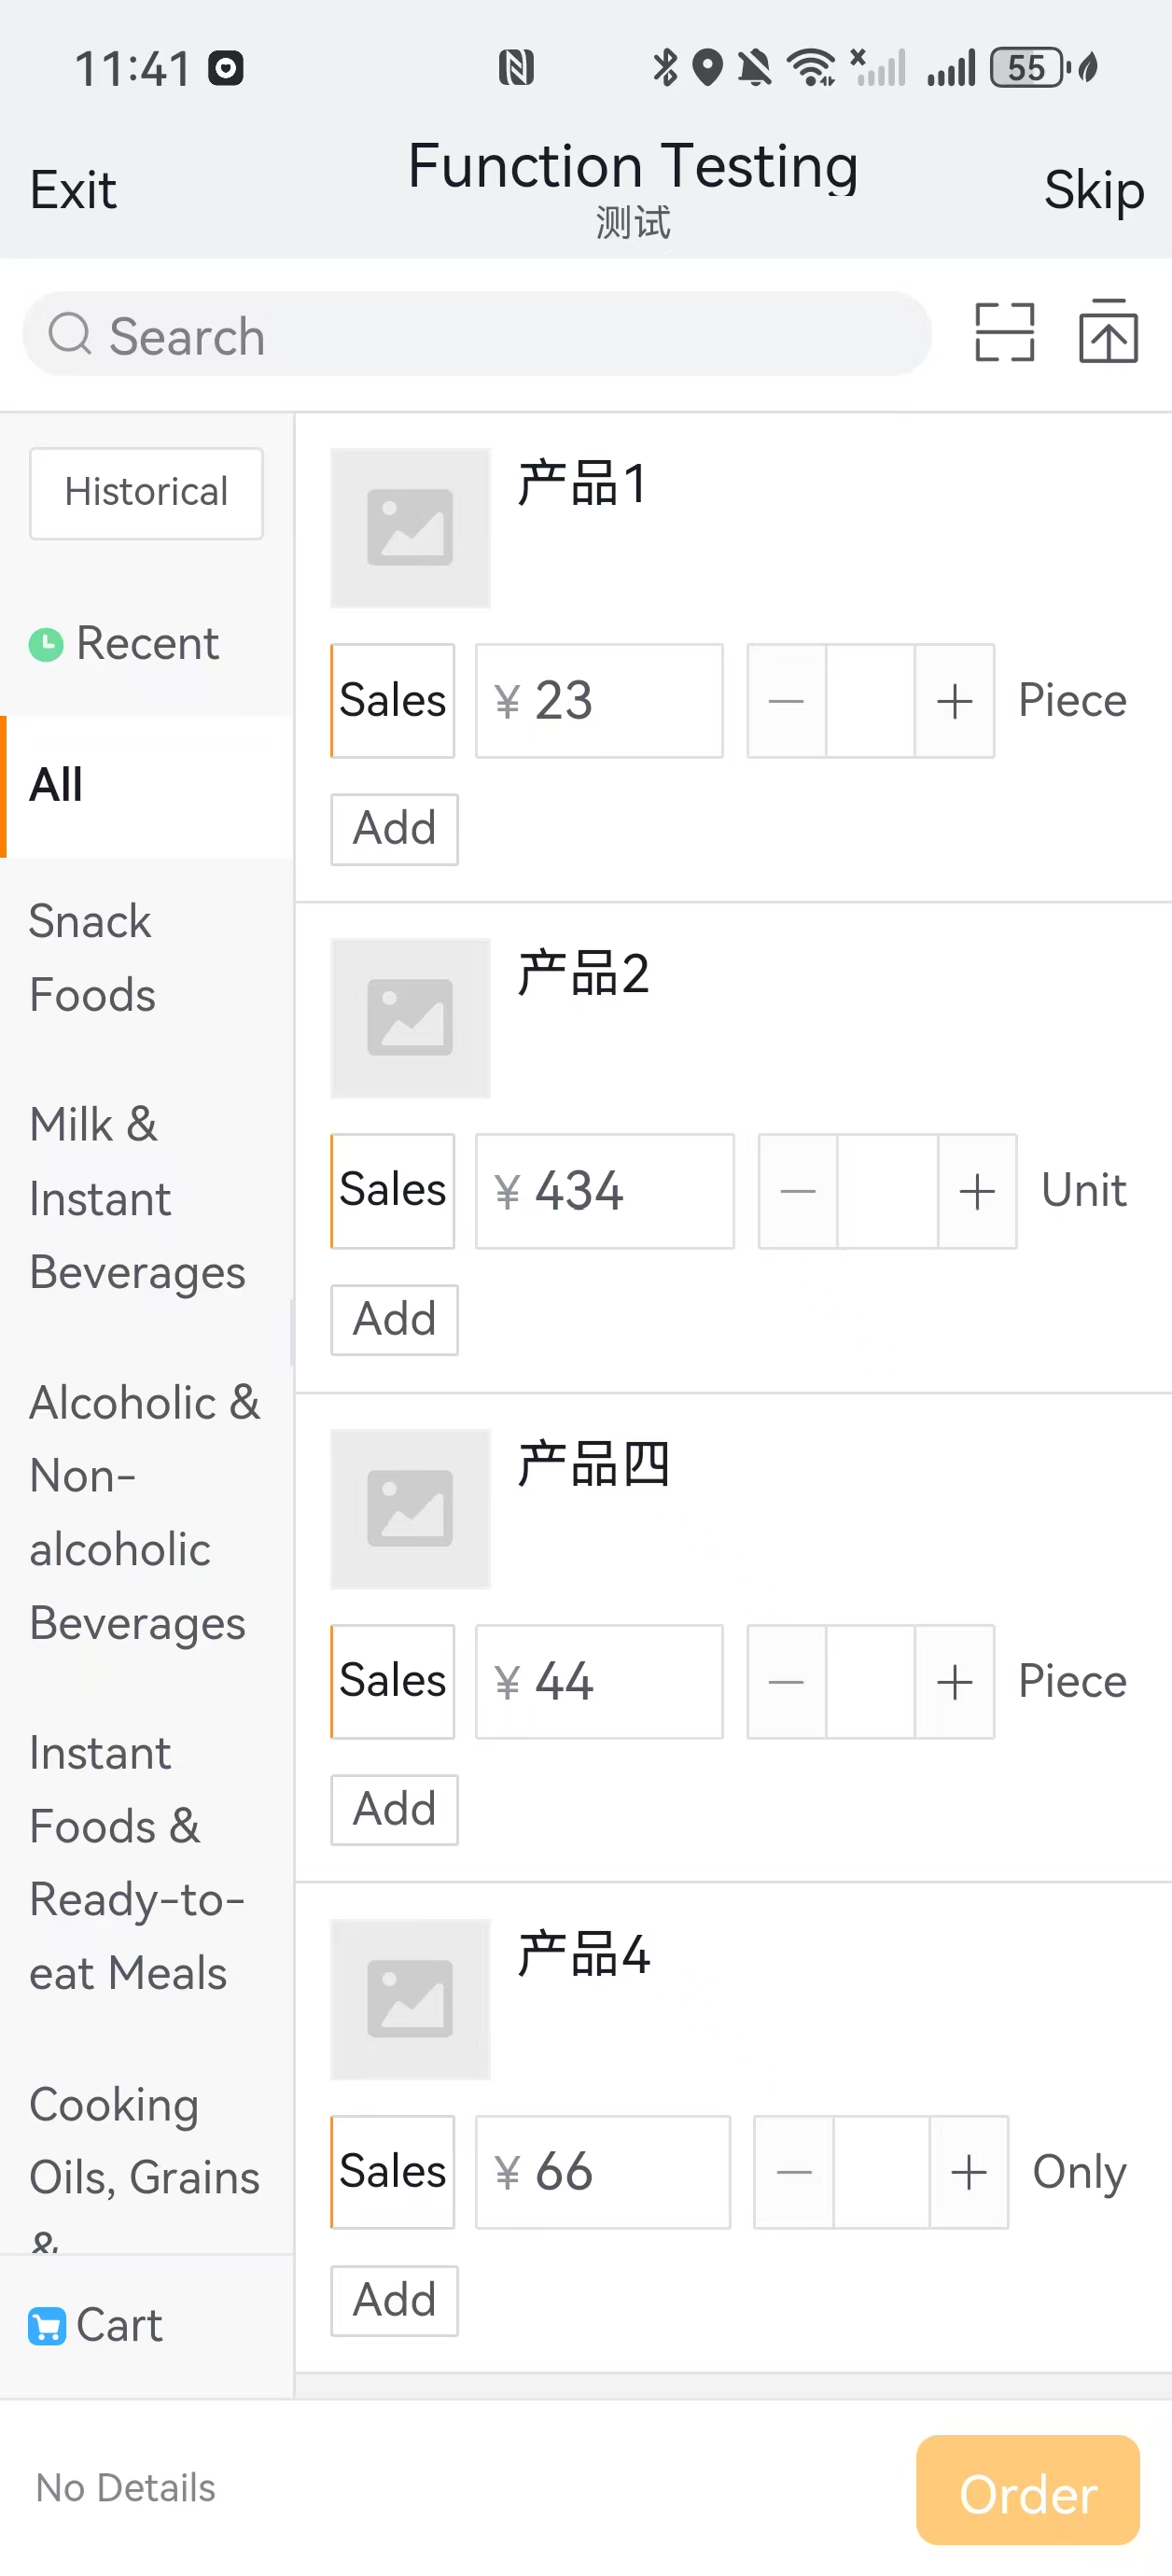
# III. Order Designer Plugin 【Effect Showcase】
# 1. Effect 1
Order Page - Conveniently modify text content (factory, specifications, remarks, suggested minimum order quantity, etc.) and colors.
Before modification:
After modification:

# 2. Effect 2
Order Confirmation Page - Orders are split by manufacturer with nearest delivery date displayed.
Before modification: